
Installing Apache mod_wsgi for django
Posted under » Apache » Django on 23 April 2021
You can start Django using the inbuilt web server with the port 8000.
$ python manage.py runserver
However, you may prefer to use Apache itself via mod_wsgi. After installing Apache Python mod_wsgi we have to adjust the settings if you want to run django.
mod_wsgi is an Apache HTTP Server module that enables the hosting of Python web applications conforming to the Web Server Gateway Interface (WSGI) specification. While mod_wsgi is commonly used for deploying WSGI-compatible frameworks like Django or Flask, it is not directly suitable for deploying Jupyter notebooks where WebSocket proxying is more suitable. WSGI is already built into Django and is the recommended classic production method.
If you want to use NGINX as your server, use uwsgi instead. NGINX cannot run python directly and thus will run Django as a proxy.
You need to install libapache2-mod-wsgi-py3
$ sudo apt-get install libapache2-mod-wsgi-py3
With that out of the way, now lets setup the apache.
<VirtualHost *:80>
ServerName student.com
        ServerAdmin webmaster@localhost
        DocumentRoot /www/student/alsstudent

WSGIScriptAlias / /www/student/alsstudent/wsgi.py
WSGIDaemonProcess deyp python-path=/www/student:/venv/bri/lib/python3.10/site-packages
WSGIProcessGroup deyp

Alias /static/ /var/www/student/static/

    <Directory /var/www/student/static/>
     Require all granted
    </Directory>

<Directory /www/student/alsstudent/>
<Files wsgi.py>
Require all granted
</Files>
</Directory>
        ErrorLog ${APACHE_LOG_DIR}/error-student.log
        CustomLog ${APACHE_LOG_DIR}/access-student.log combined
</VirtualHost>
WSGIScriptAlias defines where wsgi.py resides. WSGI uses process and in this case, I called it deyp.
Python django python-path has two parts. The first is where you created the django site. 2nd is where your python venv is.
It is a good idea to put the full path eg. /lib/python3.10/site-packages because at times it will tend to conflict with the system python.
If you want to use use SSL with Let's Encrypt, read this.
For more info on static files.
Now edit the wsgi.py with similar info. as above to the following.
import os, sys
sys.path.append('/www/student')

sys.path.append('/venv/bri/lib/python3.10/site-packages')

os.environ.setdefault('DJANGO_SETTINGS_MODULE', 'alsstudent.settings')

from django.core.wsgi import get_wsgi_application
application = get_wsgi_application()
When you get this error
ModuleNotFoundError: No module named 'django'
This most likely because you have a typo error in either your venv or your django wsgi path.
Now edit the settings.py to the following.
ALLOWED_HOSTS = ['student.com']
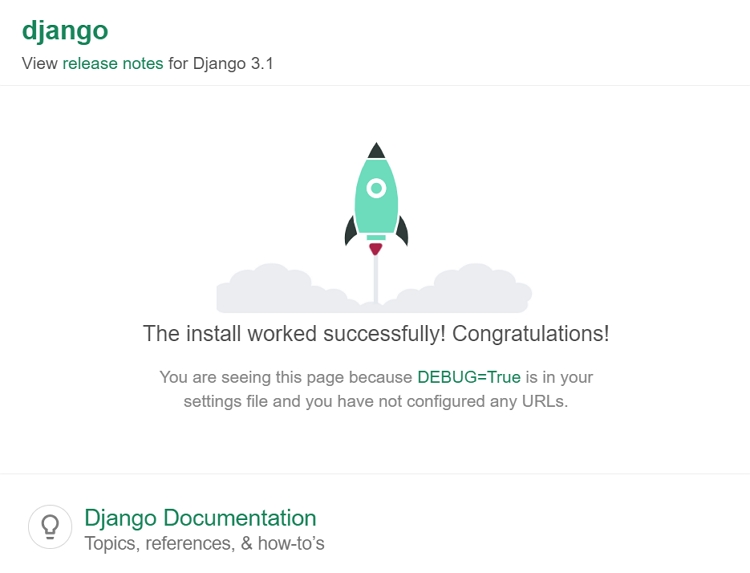
You have to restart your apache webserver and you will see the success page.
![]()
![]()
![]()
![]()
![]()
![]()
![]()
![]()
![]()
![]()

![]()
![]()
![]()
![]()
![]()
![]()